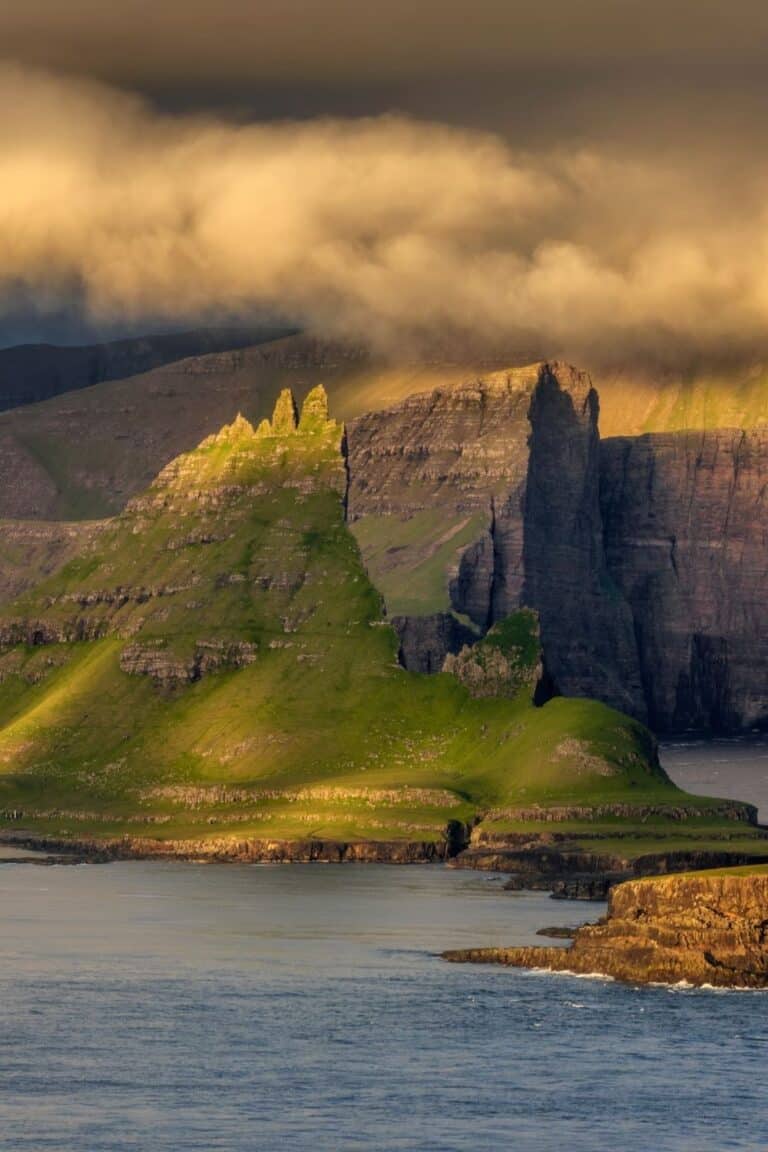
I’ve been lucky enough to have traveled to over 50 different countries. There are so many exciting places around the globe that I rarely repeat a destination. However, the Faroe Islands are an exception for me. One 10 day trip wasn’t enough, and I had to go back again this year. After two different visits I can honestly say they are my favorite destination by far!
What makes it so special? For starters, it’s extremely mountainous and no point in the Faroe Islands is more than 5 km (3 miles) from the ocean. This means that you are always close to dramatic coastal views and rugged cliffs. The views are so unique and truly spectacular.
This post includes the exact itinerary I recommend for someone’s first time to the Faroe Islands. Before diving into specifics though, there are a couple of things you need to know about getting around the Faroes.
Getting Around the Faroe Islands
The Faroe Islands may seem remote, but getting around is surprisingly easy, especially if you rent a car. I’ve visited the islands twice in October and rented a car both times—it’s hands-down the best way to explore the rugged landscapes at your own pace. Most of the roads are paved, there is little traffic, and there is lots of helpful signage.
Car Rentals in the Faroe Islands
Renting a car in the Faroe Islands is straightforward, with several options available at Vágar Airport. Prices generally range from $25 to $90 USD per day, depending on the vehicle type and season.
There are public transportation options, but they can’t compare to the flexibility and accessibility provided by a car.
Factors that will impact rental car pricing:
- If you need to add a second driver that will generally cost you an additional $10 each day.
- Manual vs. automatic transmission. If you need an automatic transmission (like I did) it will likely cost an additional $10 per day.
- Prices will go up in season (May – August)
When we visited in October we were able to find cars with a manual transmission (1 driver) for $25 per day! It was a steal!
Driving and Navigation
Driving in the Faroe Islands is a breeze. The roads are well-maintained, and traffic is light, even in the busier areas. Navigating is simple with either a GPS or your phone’s maps app—just make sure to download maps for offline use in case you lose cell signal in more remote areas.
The islands are small, so even the longest drives don’t take more than an hour or two. The roads can be narrow and sheep crossings are frequent, but I beleive that just adds to the charm!
Underwater Tunnels
Instead of bridges, the Faroe Islands are mostly connected by a series of modern underwater tunnels that make traveling between the main islands seamless.
Most of the tunnels have tolls that must be paid when using them. The fee for each tunnel is about 100 DKK ($14 USD) one way, which you can pay online or at gas stations afterward.
Our rental car company automatically added the fees to our bill so I did not have to worry about paying while there. I found it super easy to use the tunnels—quick, efficient, and they save a lot of time compared to using some of the remaining ferries.
Gas Prices
Fuel can be a bit pricey in the Faroe Islands, typically costing around 14 DKK per liter ($2 USD) during my last visit. For those Americans not acquainted with the metric system, that’s almost $8 per gallon. However, distances are relatively short, so you won’t need to fill up often. There are gas stations scattered around the islands, particularly in larger towns.
During my 10 day trip I probably spent about $100 total in gas. At home it costs us about $40 to fill up our cars, so the increase was a bit painful. Obviously gas prices will vary a ton, but in general expect them to be higher.
Public Transport
While there are buses and ferries connecting the islands, public transportation is limited in remote areas, and schedules may not align with your plans, especially in the off-season. That’s why renting a car was a much better option for me—it gave me the freedom to explore the islands at my own pace, whether I was chasing waterfalls or driving to a quiet village for a hike.
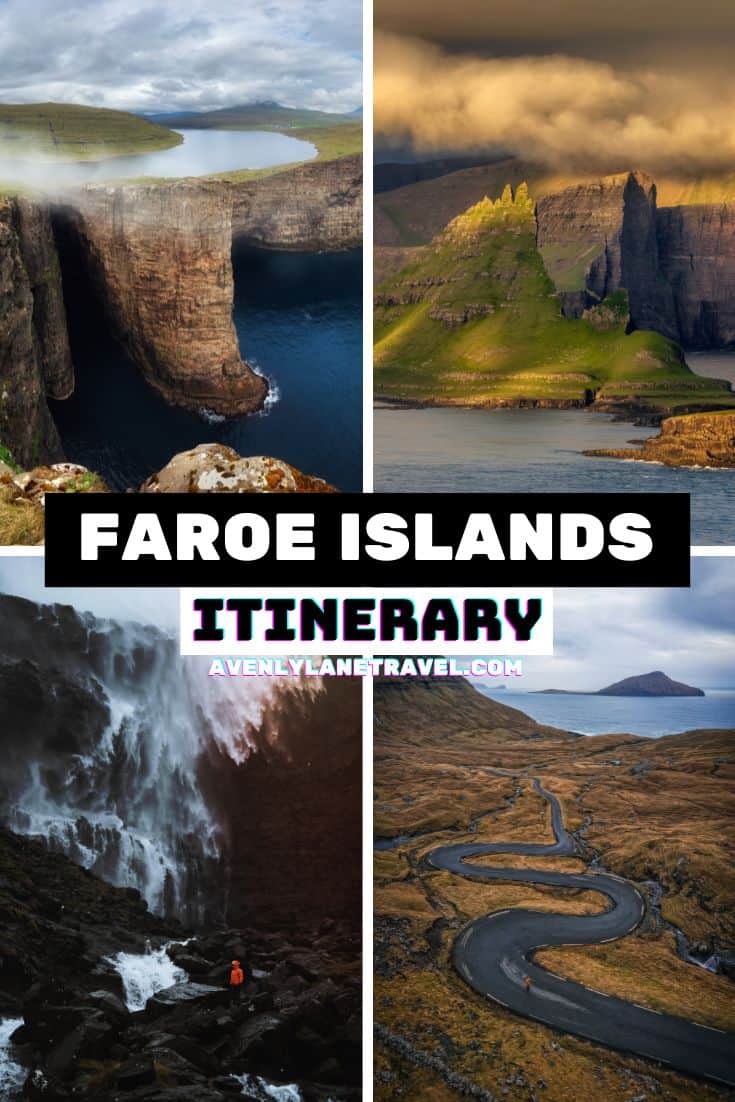
5 Day Faroe Islands Itinerary
The Faroe Islands are not nearly as popular as other destinations. This means that it can be harder to find details on what to visit. This is the itinerary and advice I wish someone had given me before my first visit.
Day 1: Arrive in the Faroe Islands
- Arrive in Vagar. Get your rental car.
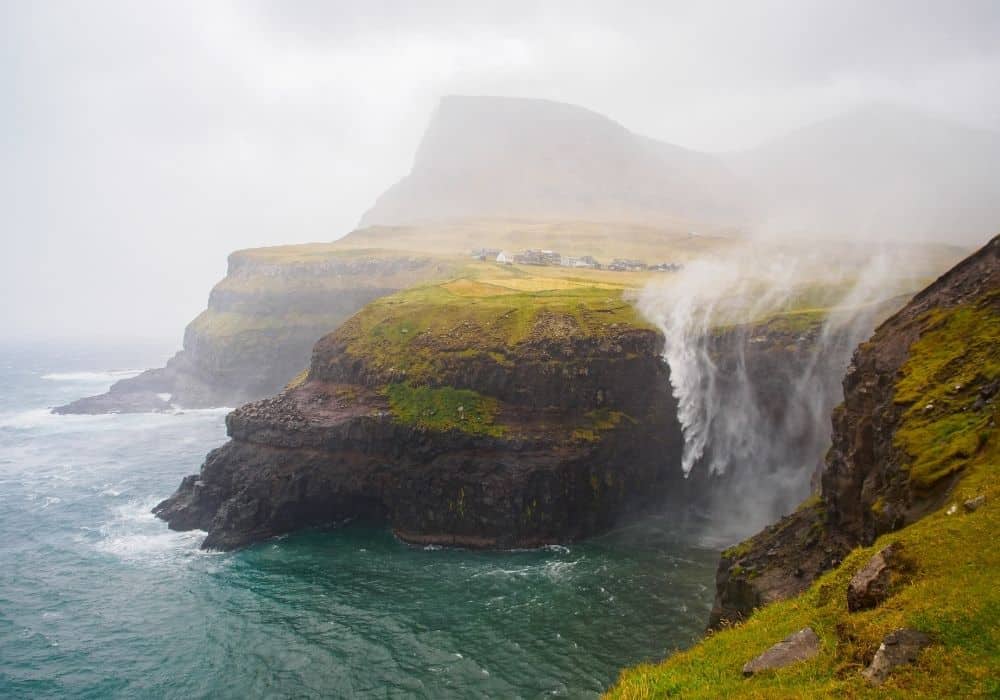
- Stop at Gásadalur waterfall.
- Stay in an AirBnb in Torshavn, the biggest city in the Faroe Islands. It is only about a 45 minute drive from the airport. I recommend staying in Torshavn as it is the biggest city, has the most restaurants, grocery stores, and other shops.
- If you have the energy I recommend getting a bite to eat in Torshavn. Our Airbnb was walking distance to downtown which was super convenient.
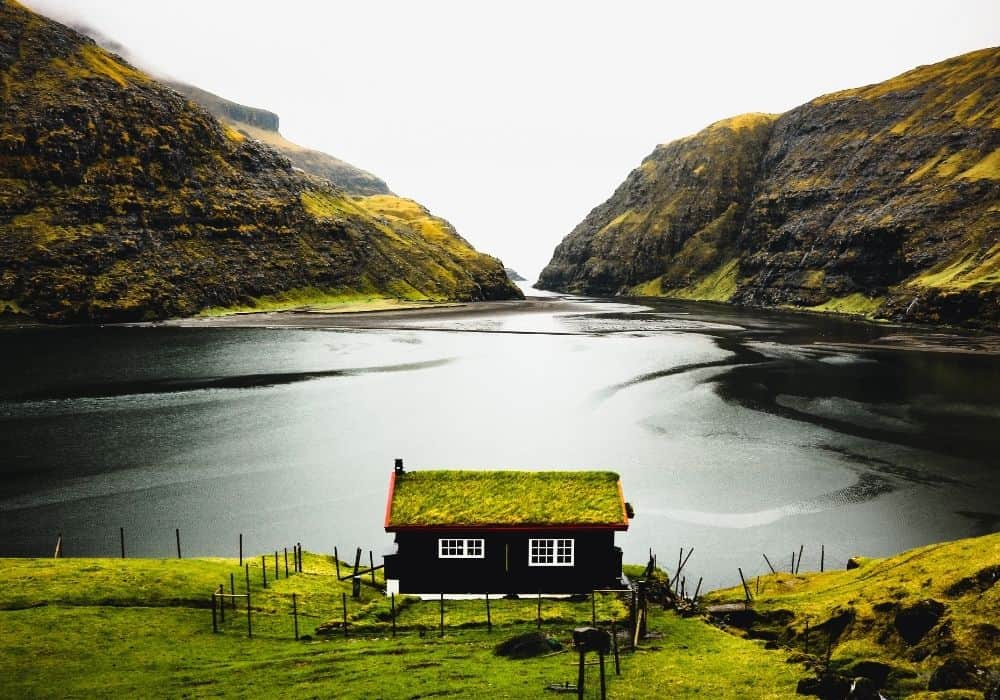
Day 2: Streymoy Island | Saksun, Fossa Waterfall and Tjørnuvík
This will be a really full day so make sure you get an early start.
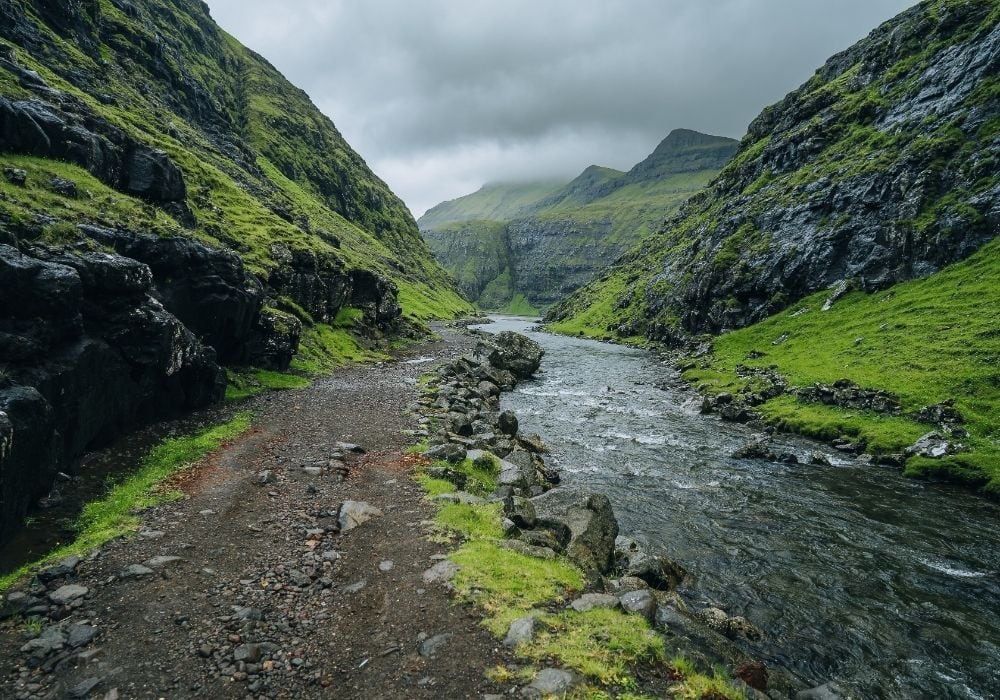
Stop 1: Village of Saksun
- Drive from Torshavn to the village of Saksun. (49 minute drive)
- Visit the village of Saksun.
- Hike Saksun Lagoon Walk (don’t skip this! It’s incredible).
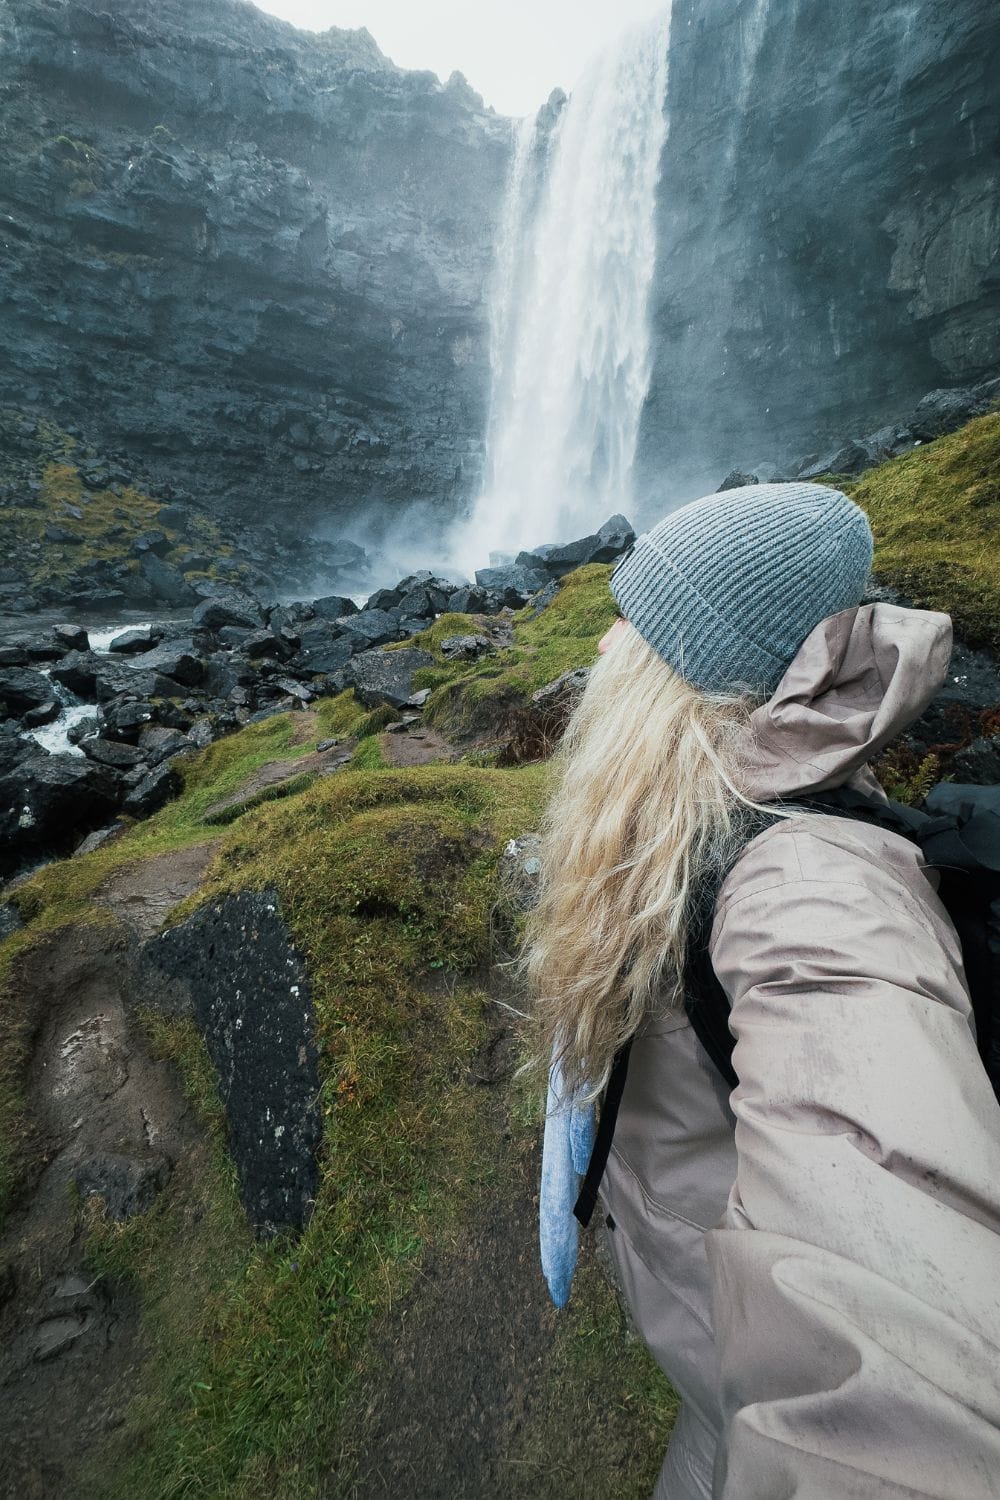
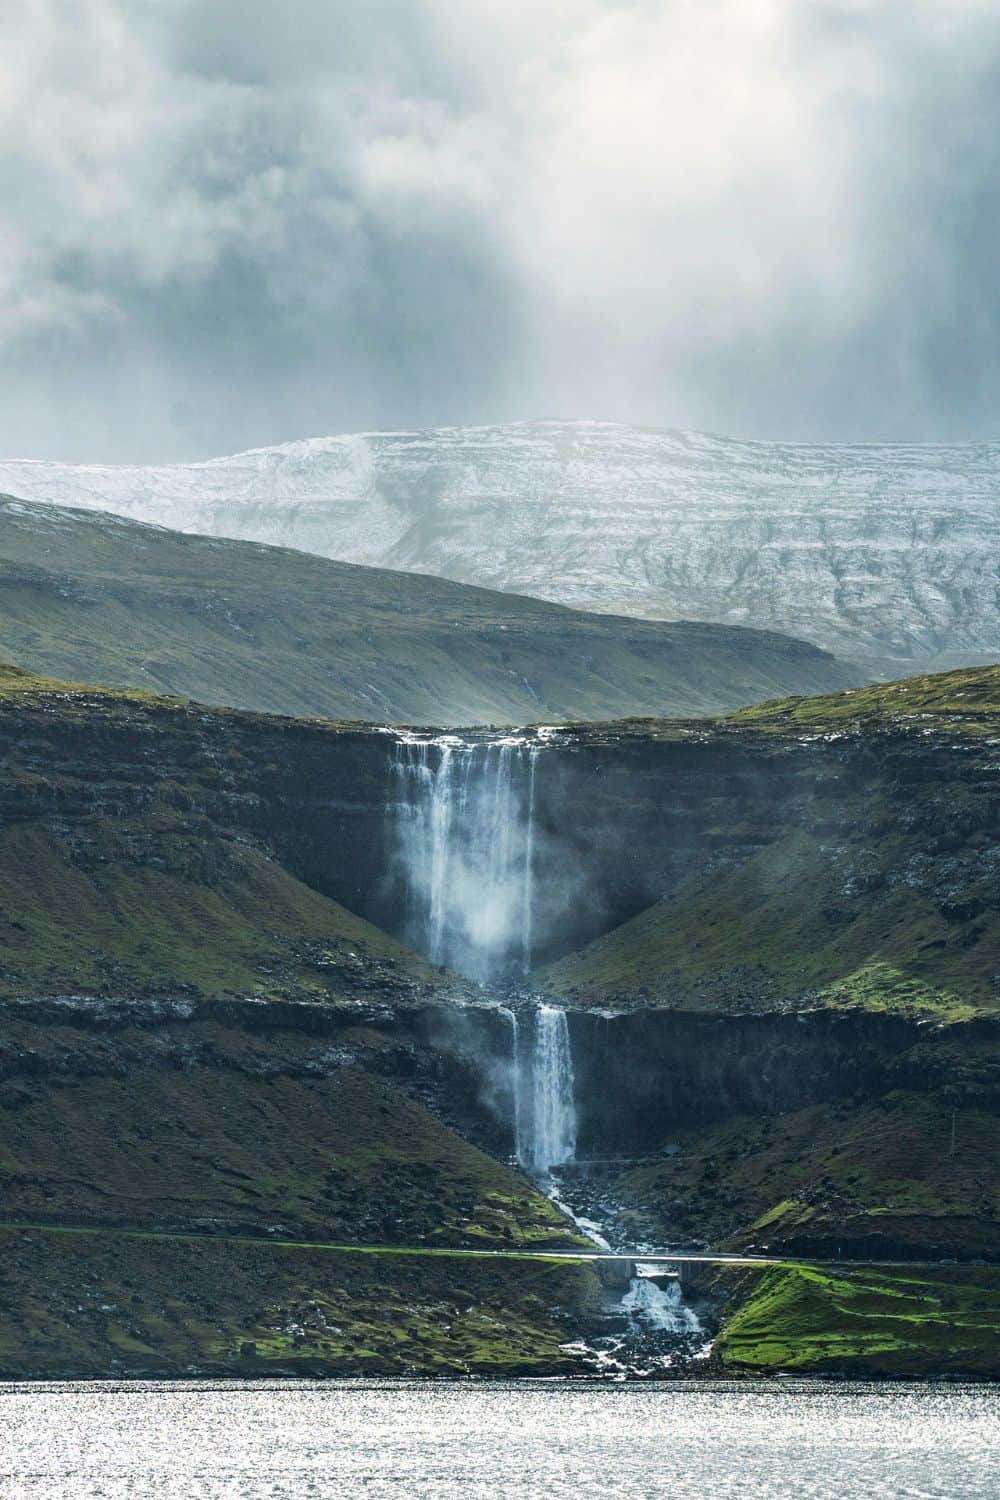
Stop 2: Fossa Waterfall
- Drive from Saksun to Fossa (24 minute drive)
- Explore Fossa waterfall and hike up to the waterfalls second level! (Don’t skip this!) The hike up is pretty easy and takes about 15 minutes.
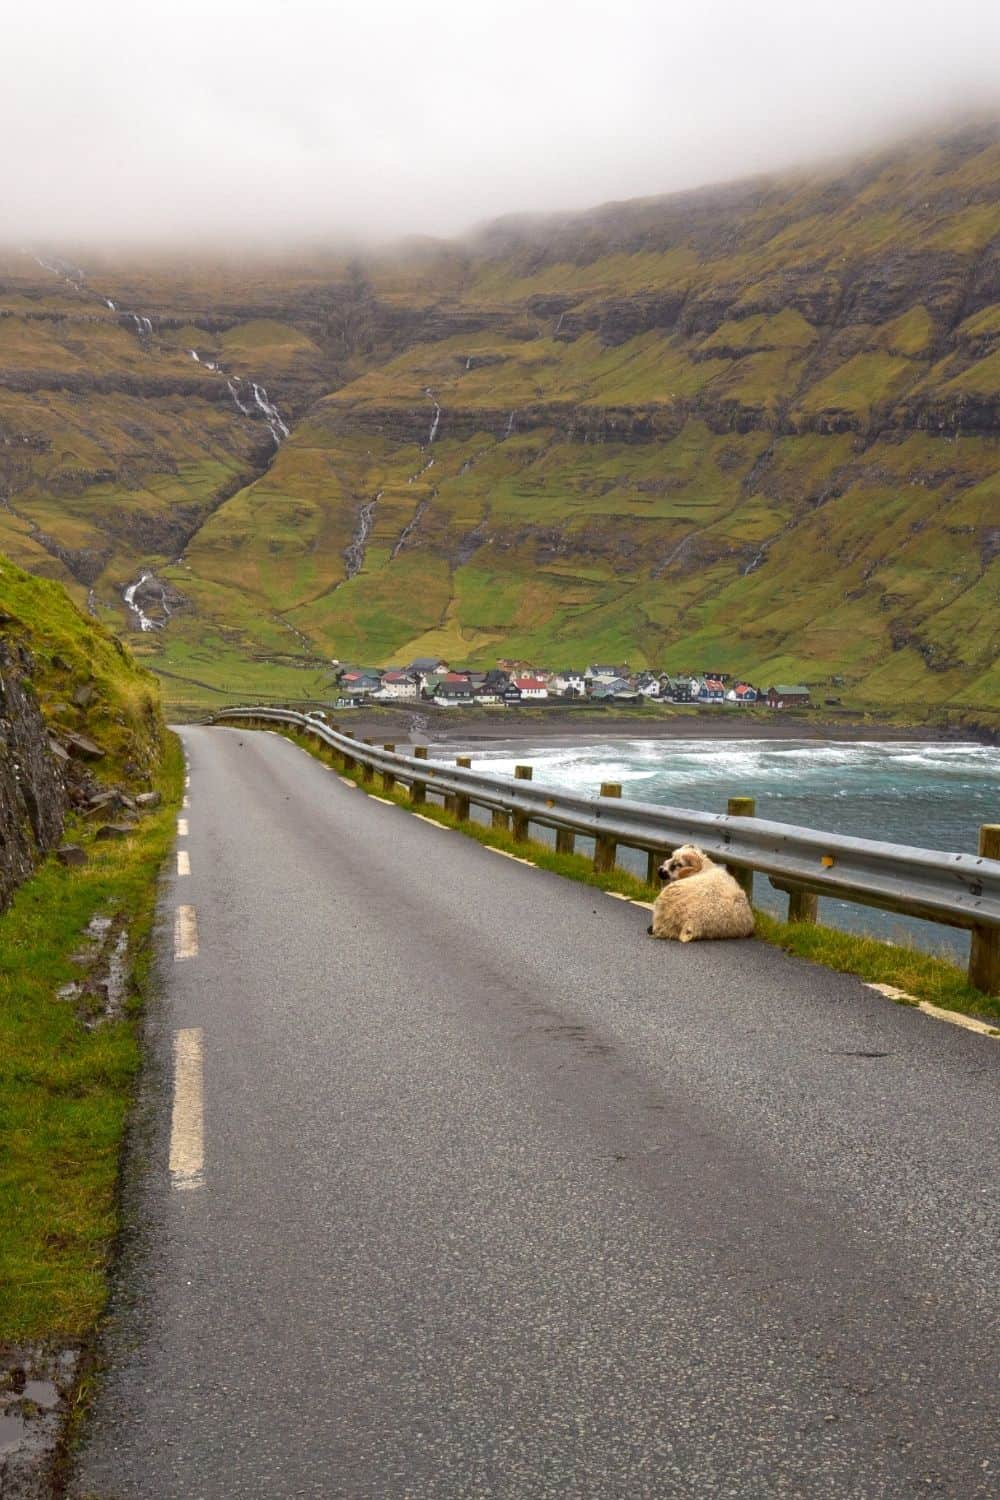
Stop 3: Tjørnuvík
- Drive from Fossa to Tjørnuvík. (12 minutes drive)
- Explore Tjørnuvík. Check out the gorgeous black sand beach there and hike 15 minutes up the hill to get amazing views of the town and sea stacks.
Day 3: Kalsoy | Kallur Lighthouse Hike
Today I recommend taking the ferry to the island of Kalsoy. Kalsoy Island is known for its insane cliffs and the famous Kallur Lighthouse hike. If you’re staying in Tórshavn, here’s how to get there:
Step 1: Drive to Klaksvík
From Tórshavn, drive to the northern town of Klaksvík, which takes about 45 minutes. On the drive you’ll see steep mountains, fjords, and even pass through the Norðoyatunnilin underwater tunnel (about 100 DKK ($14 USD) one way). Klaksvík is where you’ll then catch a ferry to Kalsoy.
Step 2: Take the Ferry to Kalsoy
From Klaksvík, you’ll board the Samskip ferry (Route 56), which takes you to the village of Syðradalur on Kalsoy Island. The ferry runs several times a day, but be sure to check the schedule in advance, especially in the off-season to make sure you can get over and back. The Kalsoy ferry schedule is available in English.
- Ferry cost for car + driver: Approximately 160 DKK ($23 USD) round trip.
- Passenger cost: About 40 DKK ($6 USD) per person, round trip.
I highly recommended you bring your car as Kalsoy is a long, narrow island, and the road to Kallur Lighthouse starts from the northern village of Trøllanes, which is difficult to access without a car.
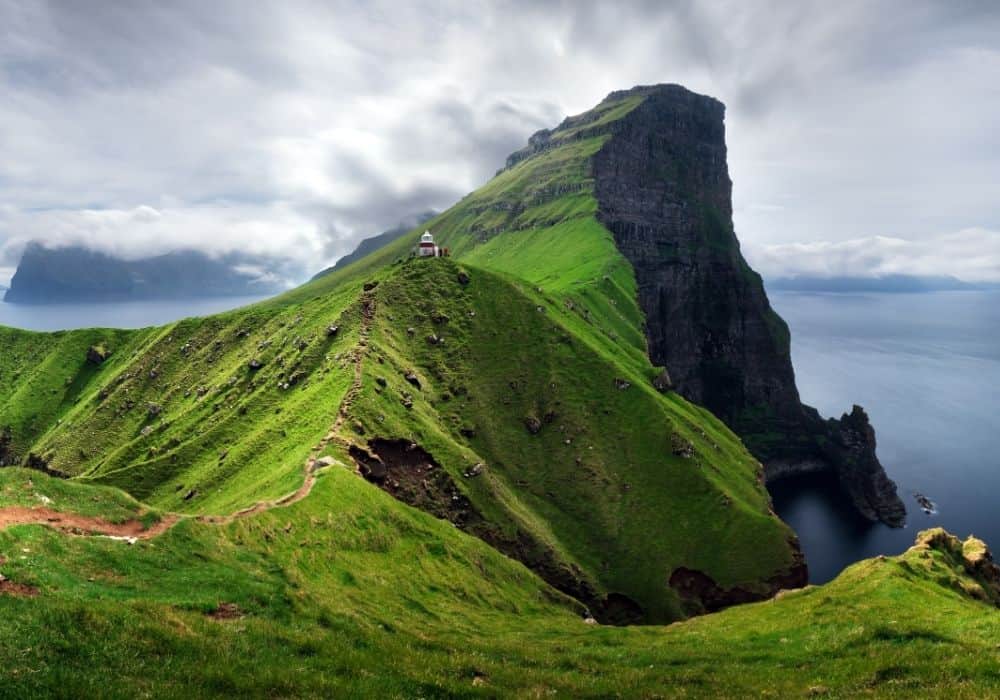
Step 3: Drive to Trøllanes and begin the Kallur lighthouse Hike
Once you arrive in Syðradalur, you’ll drive north through a series of tunnels to reach the village of Trøllanes, where the hike to Kallur Lighthouse begins. The drive takes about 20 minutes and it’s, not surprisingly, stunning! Once at Trøllanes, park in the lot next to the public restrooms, and walk up the road to the red gate.
From Trøllanes, hike 40-60 minutes to the Kallur lighthouse. Follow the right-hand side path around the mountain and eventually, you’ll get to a clearing where you can see the Kallur Lighthouse in the distance. There’s your target.
The hike to the Kallur Lighthouse is the only real reason you come to Kalsoy. It is very worth the extra effort it will take to get here.
Tips:
- Arrive early for the ferry, especially in the summer months, as space for cars can fill up quickly.
- Again, make sure to check the ferry schedule for return trips as service is limited.
Day 4: Vágar Island | Trælanípa and Bøsdalafoss waterfall hike
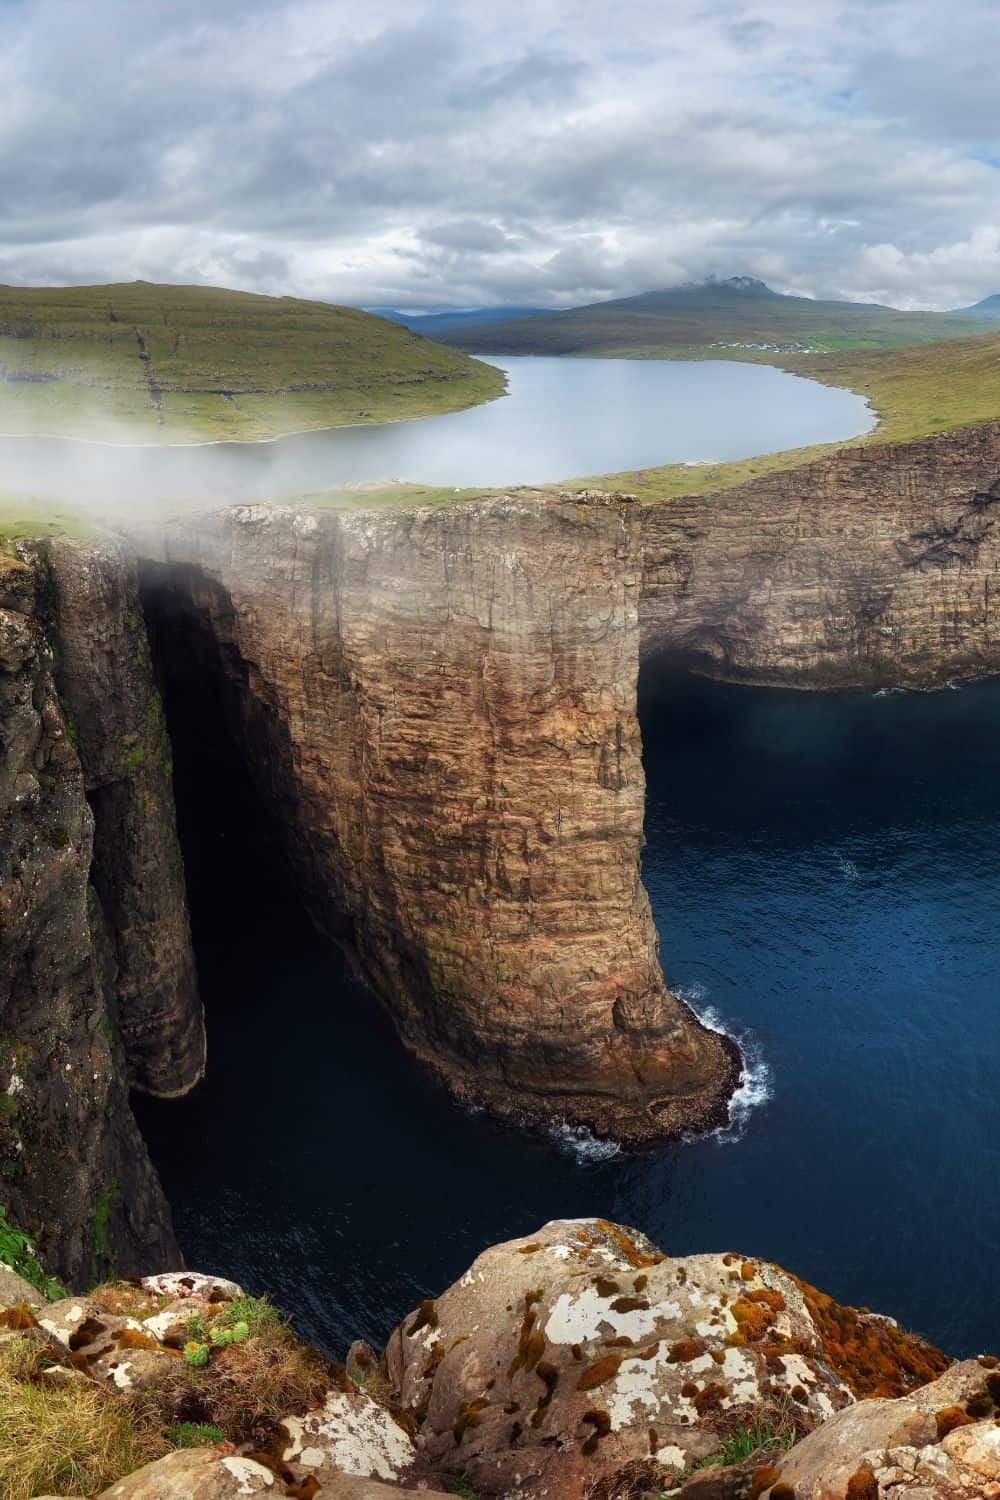
If you’re familiar with the Faroe Islands, you’ve likely seen Lake Sørvágsvatn! This is the iconic lake that seems to float above the ocean, perched on a dramatic cliff. While the photos are stunning, hiking to and around this area is even more incredible in person. I highly recommend it as the top thing to do when visiting the Faroe Islands.
This hike is located on the island of Vágar, just a short distance from the airport.
The cost is 200 DKK per person (about $28 USD) for ages 16 and up, and both cash and card are accepted. The hike is a 7.2 km (approximately 4.5 miles) out-and-back trail. I spent the whole day here, capturing photos and flying my drone, but not everyone will need that much time.
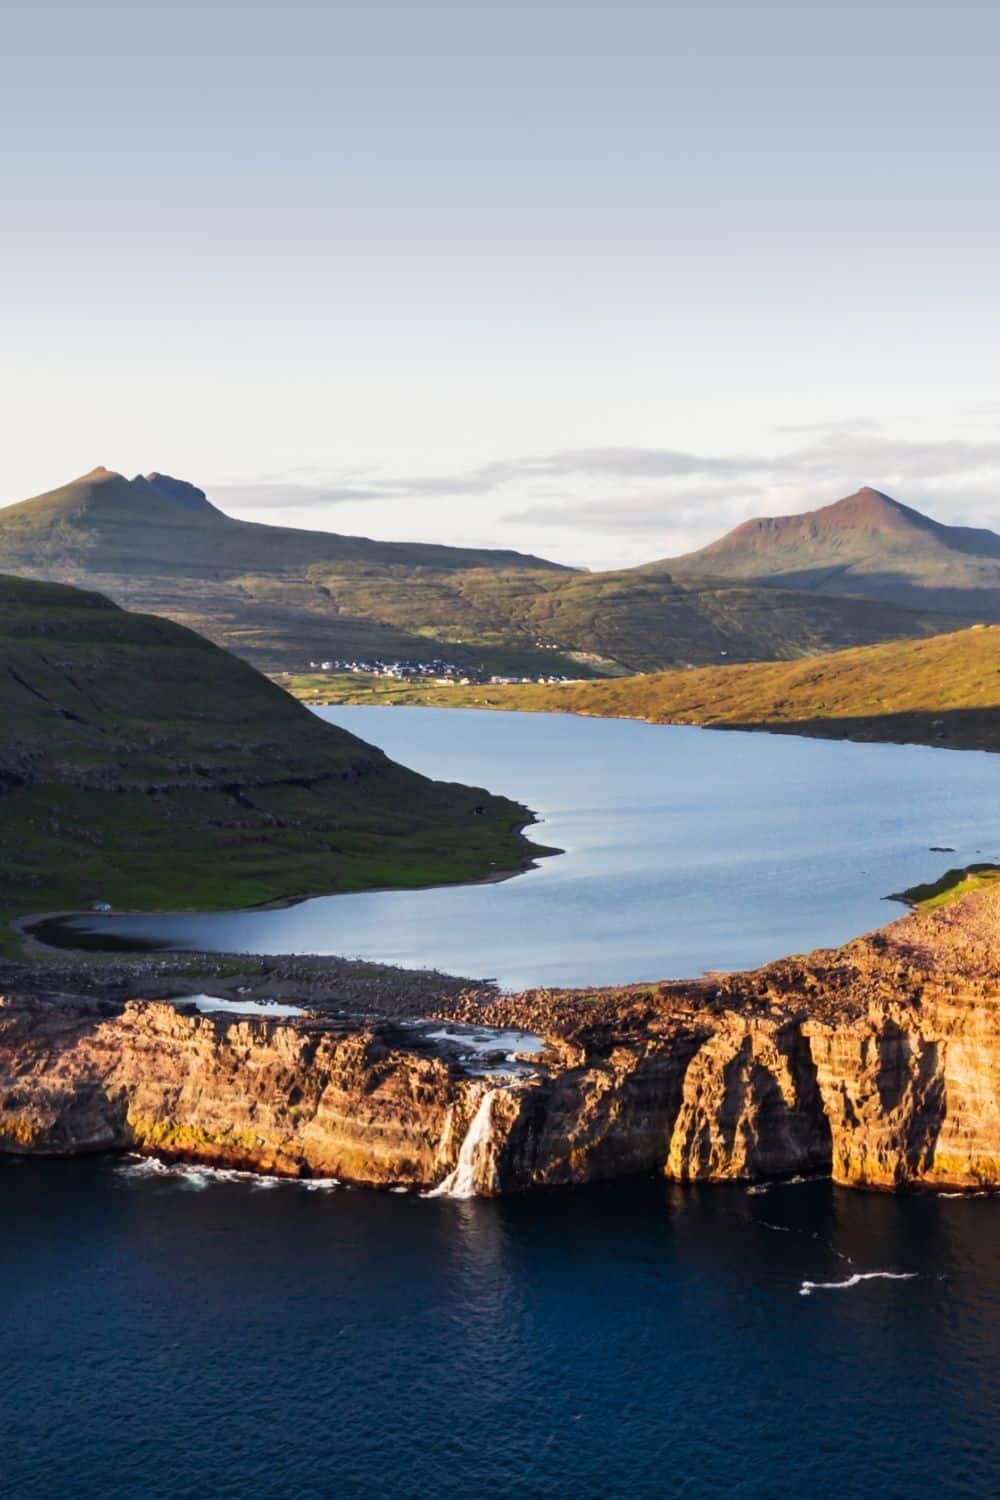
On your way back to Tórshavn, I suggest stopping at Múlafossur Waterfall in Gásadalur again. It’s right along the route, and the waterfall offers a different perspective depending on the lighting and weather conditions.
Day 5: Eysturoy Island | Gjógv, Hvíthamar
Drive to the village of Gjógv (55 minute drive from Tórshavn).
You’ll reach Eysturoy Island through another long underwater tunnel. Again, there is a toll for most of the major tunnels connecting the islands, and for this one you’ll need to pay 100 DKK (about $14 USD).
Driving around Eysturoy Island was amazing. The roads here are quieter, making it easy to stop, reverse, and snap photos along the way.
There are plenty of pull-off spots to soak in the incredible views. Since many of the roads are single lane, there are frequent turn-offs to let other cars pass, which also double as perfect spots for capturing photos. I noticed more waterfalls cascading down the mountains on this island than anywhere else I visited—it’s truly a photographer’s dream!
Explore Gjógv. Make sure to check out the Gorge Natural Harbor, the church in town, and definitely don’t leave out the Gjógv Hike (Ambadalur Trail) that leaves from the town. Once you are done exploring the town drive 5 minutes up the road to Hvíthamar.
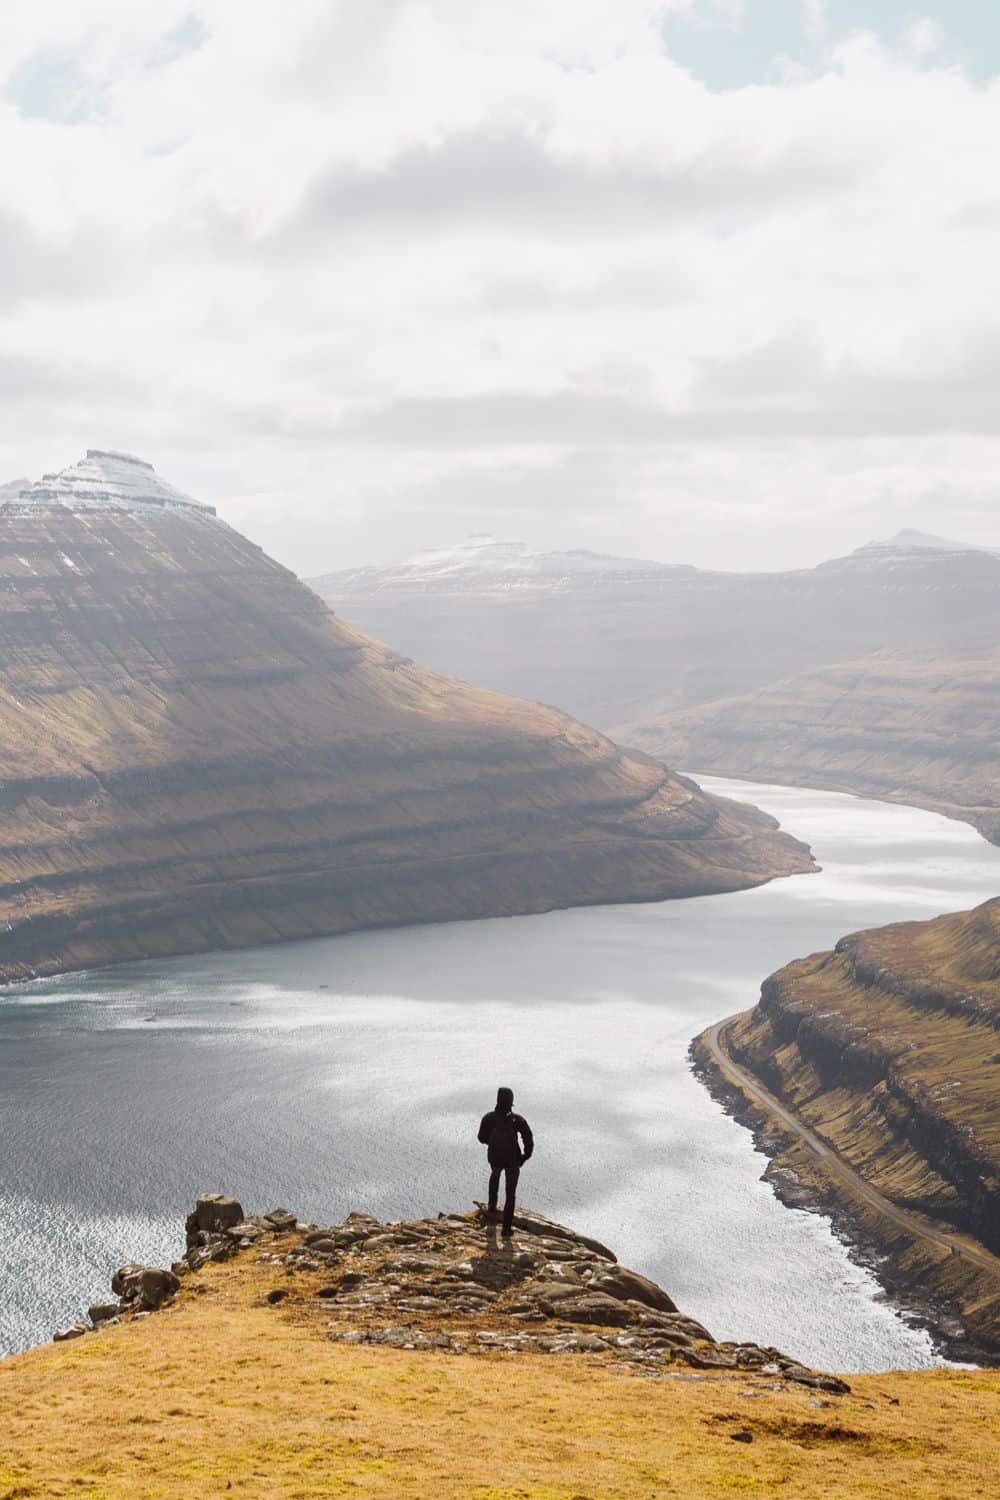
Hvíthamar is a stunning viewpoint overlooking the village of Funningur in the Faroe Islands. It’s a short, easy hike that should definitely be on your list. The trailhead is just a 5-minute drive from the village of Gjógv. Learn more about the Hvíthamar hike here.
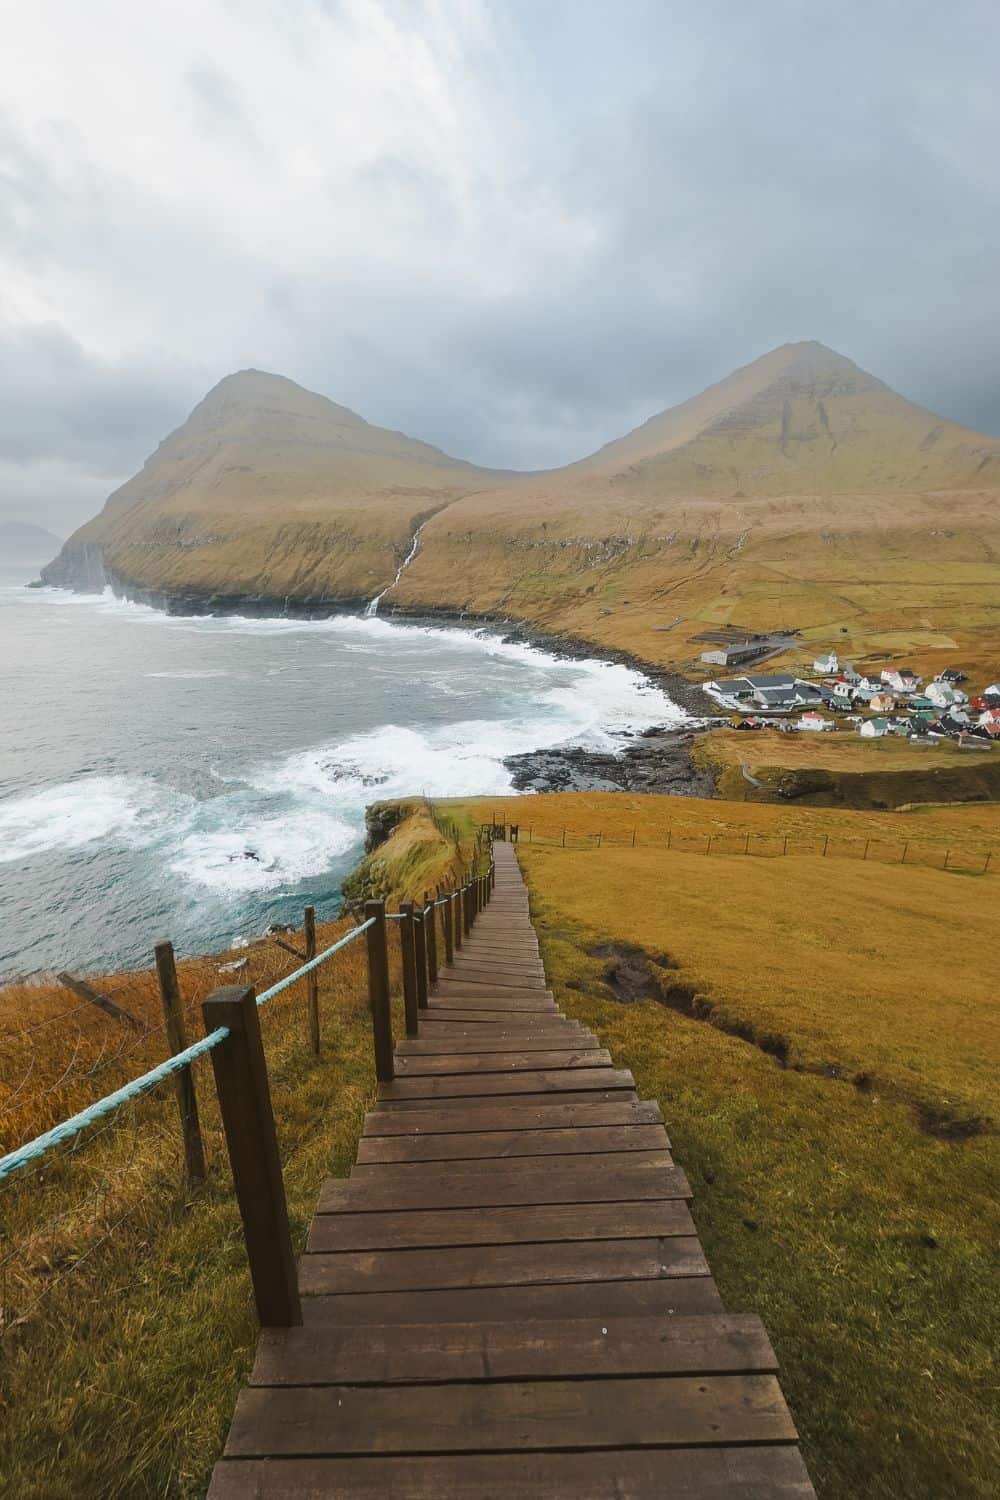
Tips on What You Absolutely Shouldn’t Miss:
Do not skip the Trælanípa and Bøsdalafoss waterfall hike. It will take you to some of the most incredible views you have ever seen.
I also highly recommend the Saksun Lagoon Walk. I skipped it during my first visit to Saksun, but when I returned to complete it, it exceeded my expectations. It felt like stepping onto another planet. Both of these hikes require entry fees, but don’t let that discourage you—they’re absolutely worth the cost.
Other Helpful Info:
Beware of the Weather – The Faroe Islands are located in one of the stormiest regions of the North Atlantic, right in the path of most Atlantic weather systems. The islands’ hilly terrain affects the lower atmosphere, leading to significant winds caused by air being funneled through valleys and ridges.
Because of this t’s really important to stay mindful of the weather when traveling in the Faroe Islands. For example, I don’t recommend heading to Kalsoy for the Kallur Lighthouse hike if you’re dealing with 60 mph winds—it’s just not safe (and yes 60 + mph winds are a frequent occurence).
The same goes for the hike to Trælanípa and Bøsdalafoss waterfall. The cliffs are so high that strong winds could easily knock you off balance. It’s best to hold off on these hikes until the weather is more manageable for a safer and more enjoyable experience.
Hiking fees – A few of the most popular hikes in the Faroe Islands are located on local farmer’s land. In recent years, some of these landowners have introduced fees for tourists to hike on their property.
While the fees are intended to help maintain trails and protect the natural environment, many visitors are frustrated by the added costs, especially when hiking has traditionally been free. I didn’t mind paying the fee, as I was simply grateful for the opportunity to hike on someone’s private land.
Food – I am not a foodie and don’t really have any recommendations for where to eat. My husband typically travel on a budget whenever possible. We bought groceries and made our own meals, and went out to eat at the closest restaurant a few times as well (City Burger). Our burgers were around $7 each. With some effort (and likely grocery shopping) it is possible to eat fairly cheap while there.
Boat Tours – Since I was there during the off season (October) I did not take any boat tours that are available in the summer. Those tours typically only run during peak season.